When you cook a steak at home, are you sometimes a little disappointed? Is it good, but not anything like eating at your favorite steakhouse? You’re using the same or better quality fresh ingredients. You pick the best cuts of meat, but they just don’t come out the same. Sound familiar?
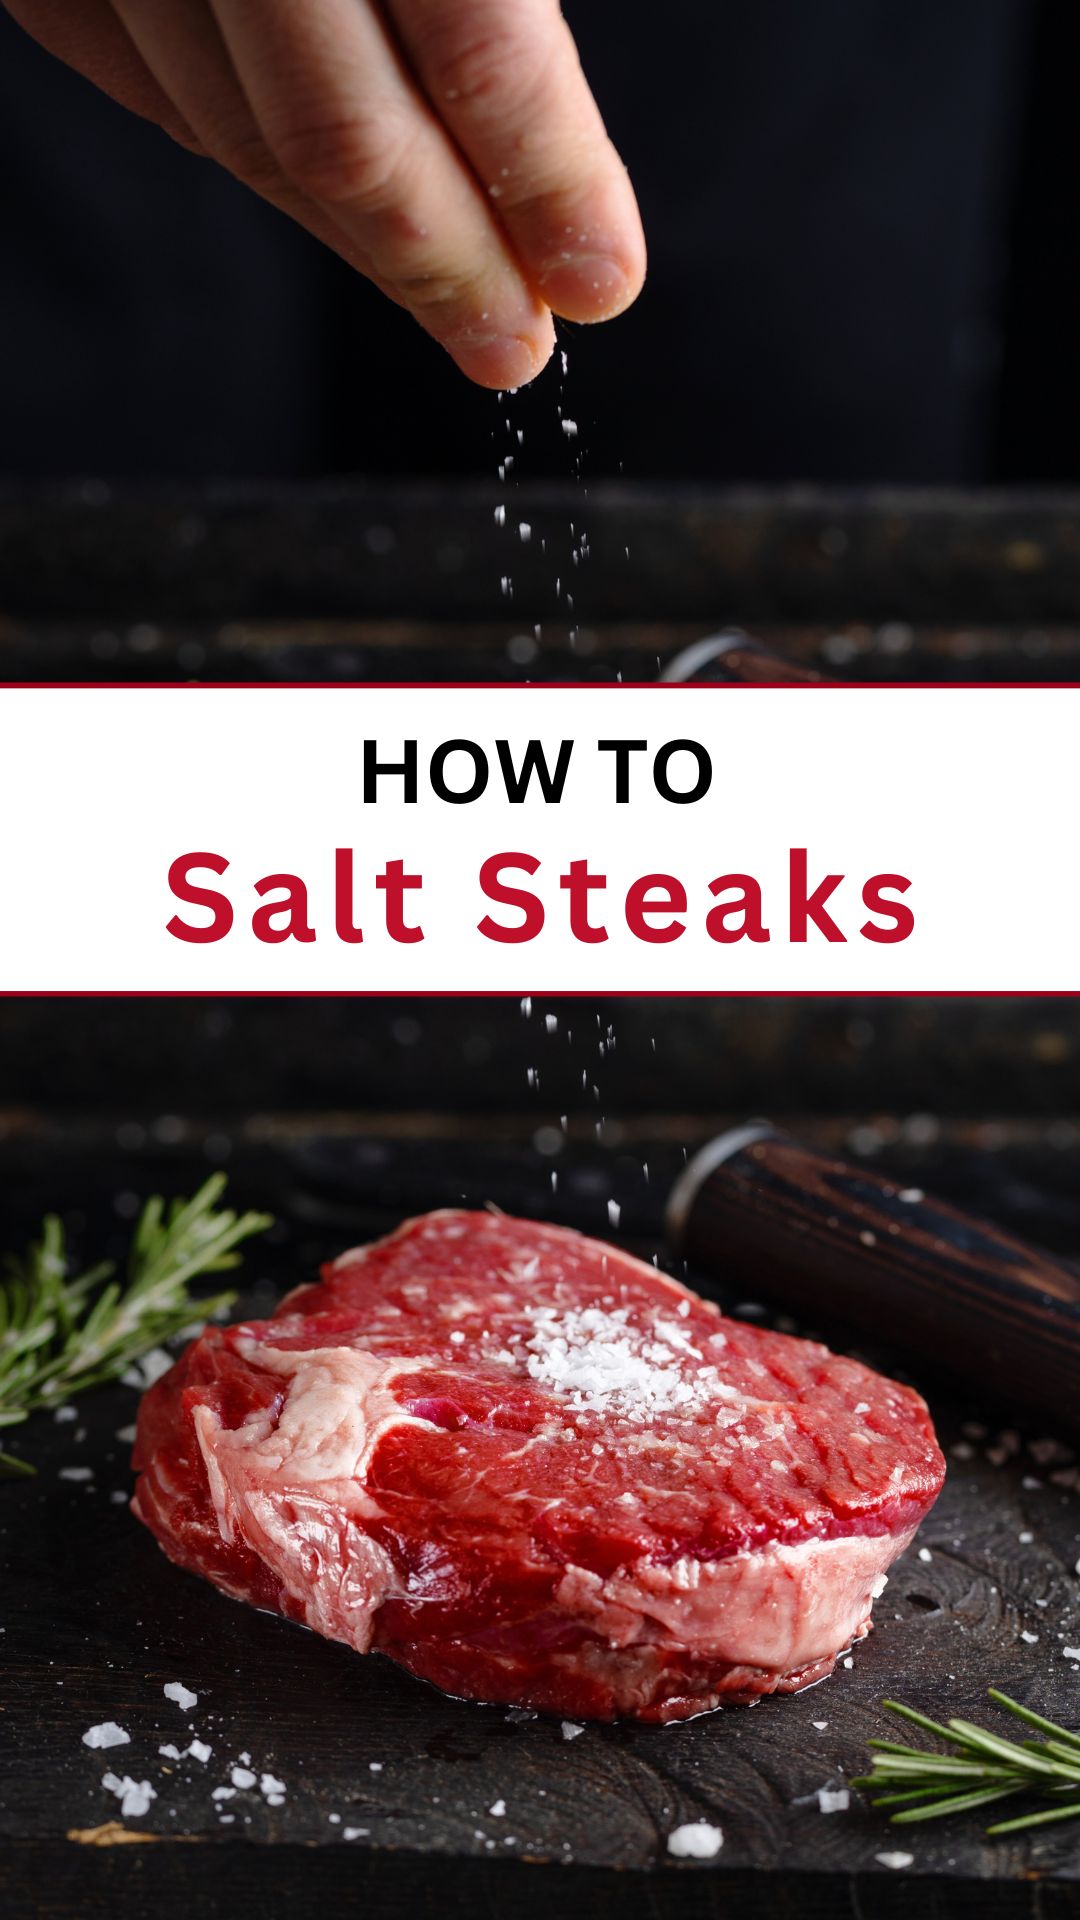
The difference is how, when, and why you season your food. With a package of kosher salt and a little bit of practice, you’ll have your friends and family extolling your cooking virtues and singing you praises.
It’s true with nearly every dish you want to make. Seasoning is part of the cooking process, not a salt shaker on the table.
But there is more than one way of salting steaks before grilling that can yield delectable results. Let’s look at some methods for dry brining steaks, why you would want to try it, and what can go wrong.
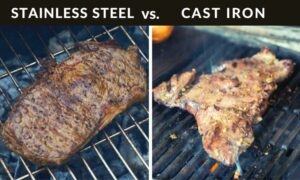
PRO TIP: In addition to salt and other spices, it’s important to get a proper sear on your steaks. You can achieve this with a regular charcoal grill or a high-quality gas grill. One of the best options, also favored by famous steakhouses, is to use a grill with infrared burners.
Why Salting a Steak is Important
Seasoning steaks before grilling brings out the best flavors in the meat. Not only that, but it tenderizes the meat and makes every bite succulent and delectable.
Salt may be the most important spice in your cabinet and yet the most misunderstood. When you add salt to your food, you aren’t just aiming to make it saltier.
Properly seasoned food does not taste salty! On the contrary, salt is a flavor enhancer that makes the flavor of the food pop. But improper seasoning or over-seasoning can make something just taste like salt.
When it comes to seasoning steaks, salt works by drawing the moisture out of the meat. That’s important to understand because it will help you see what is happening clearly and what can go wrong.
The Simple Way
The simplest option is to season the meat with salt and pepper immediately before grilling. The salt won’t have very much time to work, so it will only draw out a little moisture as the meat begins cooking.
The salt will quickly cook off, and it will char on the outside of the steak as the heat gets cranked up. As one famous chef says, those charred crunch bits are what the French call flavor.
This method will explained in more detail later (see Method 3).
Dry Brining
When you are aiming to grill a perfect steak, you want to let the salt sit on the meat for longer. This is where it gets trickier. If you let it sit for less than an hour, the salt draws moisture out of the meat, which then gets cooked off quickly. You’re left with a dry, chewy steak that disappoints. This is not the way to go about seasoning a steak.
However, given enough time, the salt will dissolve, and the moisture will begin to be reabsorbed into the steak. The moisture, now combined with the salt, permeates the meat in an even more effective way.
The steak needs to sit in salt for over an hour, preferably even longer, to get this effect (explained in detail later, see Methods 1 & 2).
The wonderful thing about this technique is that it tenderizes the meat as the moisture is reabsorbed. When the steak hits the heat, there’s plenty of moisture, so it doesn’t dry out. The result is a moist, juicy, flavorful steak. Yum!
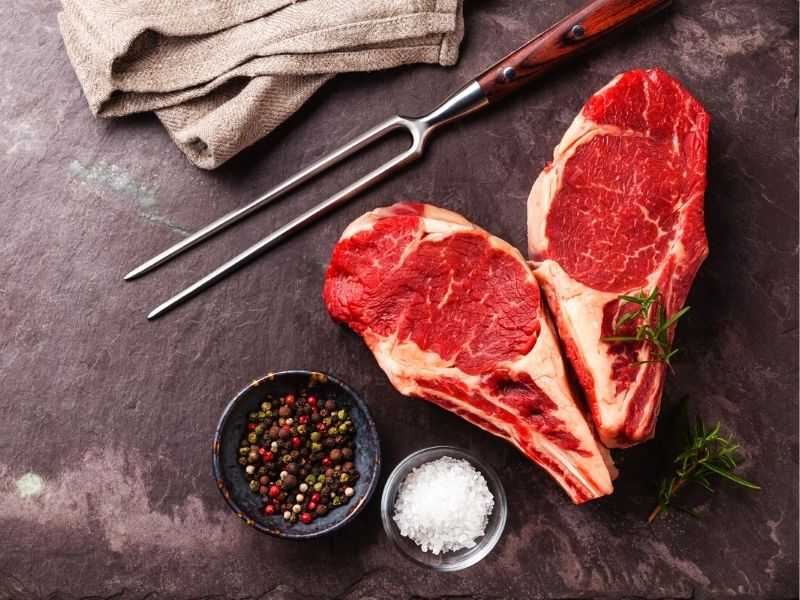
Types of Salt to Use
All salt comes from the sea or mountains, but differences in the refining process make very different products. Not all salts are created equally, so the home chef needs to understand the difference between the types.
The main types of salt you will find in the grocery store are table salt, kosher salt, sea salt, and Himalayan salt.
Different Types of Salt Explained
Table Salt: Has tiny grains that are uniformly square. It also has iodine added to it, a necessary nutrient that, at one time, many people were deficient in.
Kosher Salt: Large and flaky when compared to table salt. Chefs love using kosher salt because the grains are easy to pinch by hand. Most recipes are measured using kosher salt by volume. Kosher salt is the single best type of salt to use for salting steaks before grilling.
Sea Salt: Usually has large chunks in combination with fine granules. The size and consistency vary considerably depending on where the salt is from and how it was processed. That makes it very difficult to use in cooking because measuring it consistently is impossible. Sea salt is best saved for the table as a finishing salt, to be added to the food as a final flourish.
Himalayan Pink Salt: Comes from a large salt mine in Khewra, Pakistan. Trace amounts of iron oxide (rust) gives it a visually appealing pink color. It has a slightly different taste compared to sea salt and contains small amounts of minerals such as calcium, iron, potassium, and magnesium. You can get Himalayan salt in large flakes just like kosher salt, or ground into fine powder like table salt.
You can always use the correct amount of salt if it’s measured by weight. But most kitchen scales aren’t accurate at such small quantities, so most recipes use volume instead.
The problem is that a teaspoon of table salt would contain far more salt than a teaspoon of kosher salt. And no one knows much how is in a teaspoon of sea salt.
We recommend using kosher salt or large-grained Himalayan salt for your steaks.
They are easy to pinch and rub on the meat and don’t usually contain additives like anti-caking agents or iodine that negatively affect the taste.
PRO TIP: Once you find a brand of salt that you like, stick with it. Different brands have different-sized crystals which affects how much a teaspoon of that salt weighs. Using the same brand helps with getting consistent results.
Methods to Salt Your Steaks Before Grilling
A brine is a salty solution that meat is soaked in before cooking. Brines can add a lot of moisture and flavor to any dish. But dry brining is a unique process of letting the meat sit for an extended period with a salt rub applied.
For best results, you’ll want to use thick-cut steaks. Beef cuts at least one inch thick are best.
Method 1: Dry Brining and Rinsing
Time: Takes about 1 hour.
Step 1: Pat your steaks dry and generously coat each side with kosher salt. Don’t worry about overdoing it because you’re going to be removing a lot of that salt in the end. Don’t be stingy!
Step 2: Set the steaks on a wire tray and leave them uncovered for one hour per every inch of steak thickness. For one-inch thick steaks, let them rest at room temperature for one hour. If they are thicker, go for an hour and fifteen minutes or more.
As the salt does its magic, you’ll notice the moisture being pulled out of the steaks. Just leave them alone for the entire hour! Timing is critical for this method.
Step 3: When your time is up, rinse both sides of the steaks thoroughly under running water. Rub them and get all of the salt grains out. Just the right amount of salt has been reabsorbed into the meat, so you can’t wash away too much. Rinse them thoroughly and pat dry with paper towels.
Do not add more salt before cooking. Just add pepper and whatever other spices you want, but nothing that contains salt (sodium).
Method 2: Dry Brining Without Rinsing
Time: Takes about 1 to 3 days.
Method 2 starts much like the last one, but it takes a few days instead of an hour — and you need to be much more careful with the amount of salt involved.
Step 1: Coat each side of the steak with a precise amount of salt. The general rule is a half teaspoon of kosher salt for every pound of meat, though some chefs prefer a little bit more or less.
Step 2: Leave the meat uncovered on a wire rack, in your refrigerator, for one to three days. The longer you leave them, the better they will taste. But do not go beyond three days, lest you invite unwanted bacteria to your dinner party.
When complete, do not rinse the salt off. Add any other spices you want and throw them on the grill.
Method 3: Salt Right Before Grilling
Time: Takes only a few minutes.
Both Methods 1 and 2 required quite a bit of time, making them unlikely to happen on a night after work.
If you don’t have a lot of time, bring the steak to room temperature, season with salt and pepper, and immediately throw it on the grill.
Use the same amount of salt you would for Method 2 above, about a half teaspoon per pound of meat. Don’t let the meat rest for long after you season it — get it on the grill and cooking in less than ten minutes or so.
4 Mistakes to Avoid When Salting Steaks Before Grilling
Everyone screws up sometimes. The pros just learn from their mistakes.
Here’s a few things that you want to avoid when salting your steaks:
1. Not Using Enough Salt
Salt hesitancy is a thing. Doctors and the media have been beating the anti-salt, anti-sodium drum for decades now, and salt may have gotten a bad wrap. Recent studies have shown that the correlation between hypertension, heart disease, and salt intake is murkier than once imagined. Regardless, too much of anything is not good for the body.
But don’t lose sight of the fact that salt is an essential nutrient. Our bodies need it to function and for good health, and we cannot get it except through the food we eat.
When nutritionists and health experts decry high-sodium diets, they are not referring to you grilling fresh steaks and vegetables on your grill. The super high sodium concentration found in processed foods, fast food, and packaged snacks is the problem, not the pinch of kosher salt going on your steaks.
Follow the recipe amounts and use the same sort of salt that it calls for — nine times out of ten, that is kosher salt. Buying your first box of kosher salt will change your cooking forever for the better.
2. Using Too Much Salt
Everyone has had experience with a dish that got overseasoned. It becomes instantly inedible.
There are a couple of ways to prevent this from happening.
In the methods listed above, it’s important not to add more salt along the way. If you’re attempting a dry brine, don’t add more salt prior to cooking. And don’t add any finishing salt at the table until after you’ve had a taste.
As a general rule, if you’re making a sauce, taste the sauce as you cook it.
3. Not Rinsing Well Enough in Method 1
Your steaks might not come out quite right if you use a rinse method but don’t rinse the steak very well. There’s a certain hesitancy when you’ve never attempted cooking a steak with this method before. It’s a little bit counter-intuitive to go washing all of that delicious seasoning down the drain!
But put your trust in the science. When you cook with these methods, the moisture and salt are being drawn back into the meat.
It’s in a solution, so you can’t see it, and you can’t wash it off. The only thing you are washing off is the excess salt that hasn’t been used.
4. Letting Steaks Rest Less Than One Hour
If you’re following these methods, the biggest problem will occur if you do not abide by the time requirements.
If you salt the meat and let it rest only ten minutes to one hour, the only thing that happens is that the salt draws out some of the meat’s moisture.
The result is dry, flavorless steaks. Yuck.
If you don’t have the time to wait for a dry brining method to complete the entire cycle, you’re better off simply seasoning immediately before cooking. You’ll get a flavorful and delicious steak, maybe not on the same level, but still delicious.
Conclusion
Whether you use a charcoal grill or a gas grill, seasoning steaks before grilling them is the key to getting a restaurant-quality taste from your backyard. It’s the difference between a cheap steak at a diner and a $50 fine-meal.
So take your cooking up a notch — buy yourself a box of kosher salt, and try a dry brine on your next steak dinner.