Grilling is definitely one of my favorite ways of cooking. There’s something primitively satisfying about smelling the smoky aroma of charred meat.
At first, grilling might appear complicated and even a bit intimidating. What if I fail? What if the food gets burnt? Come on, relax!
It’s not that hard. With the right tips, you can succeed even if you are a beginner!
First, you need to know how to use and maintain your grill and control its temperature. You’ll also want to cook the meat so that it has that tasty and crispy surface without burning or overcooking it. Because we are dealing with fire and hot surfaces, safety is also an important aspect to consider.
Learning how to grill is fun! Let’s go through the basics of grilling so that you can prepare an awesome meal for your family.
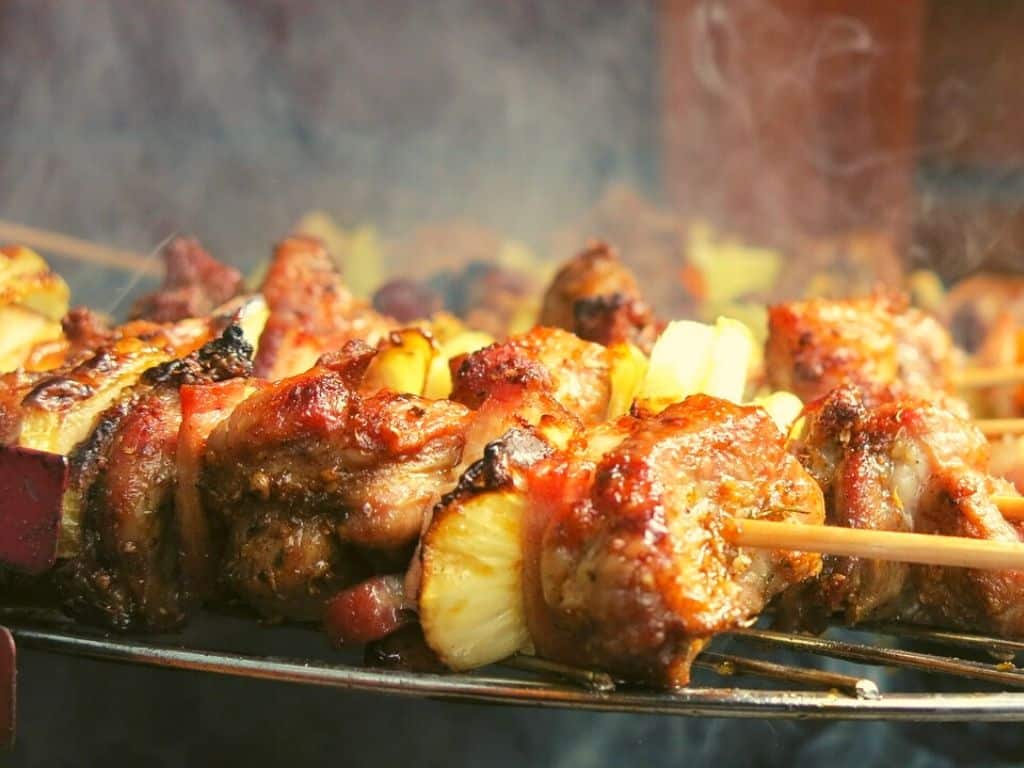
Why Grilling is a Great Way to Cook
Easy, Convenient and Fun
Grilling is one of the easiest, most convenient, and enjoyable ways of cooking. For sure there are complicated recipes and grilling techniques, but many grilled foods are very easy to prepare.
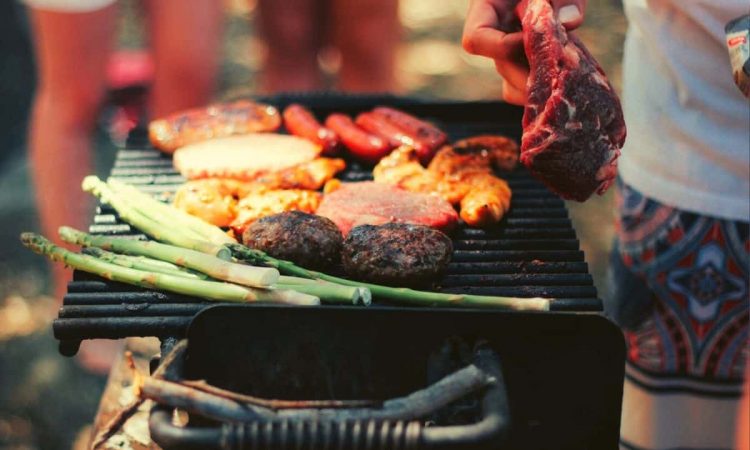
It is an excellent way to prepare food for a large group of people if your grill is big enough. You can also grill many different types of foods at the same time. Beef, chicken, sausage, and various vegetables can very well be grilled simultaneously.
Taste
Let’s admit it, the taste of perfectly grilled food is heavenly good!
Time
What to do when you get home from work and a bunch of hungry family members are screaming for food? Light up the grill, of course. The high temperature and heat radiation of a grill will cook your hamburgers, chicken breasts or steaks in no time.
Texture
Grilling gives you that tasty and crusty surface texture while keeping the inside nice and juicy.
Less Oil
If you are trying to avoid fatty and oily foods, grilling is a perfect option. While a bit of oil can help to avoid the meat from sticking to the grill, you can use much less than what is typical for fried foods.
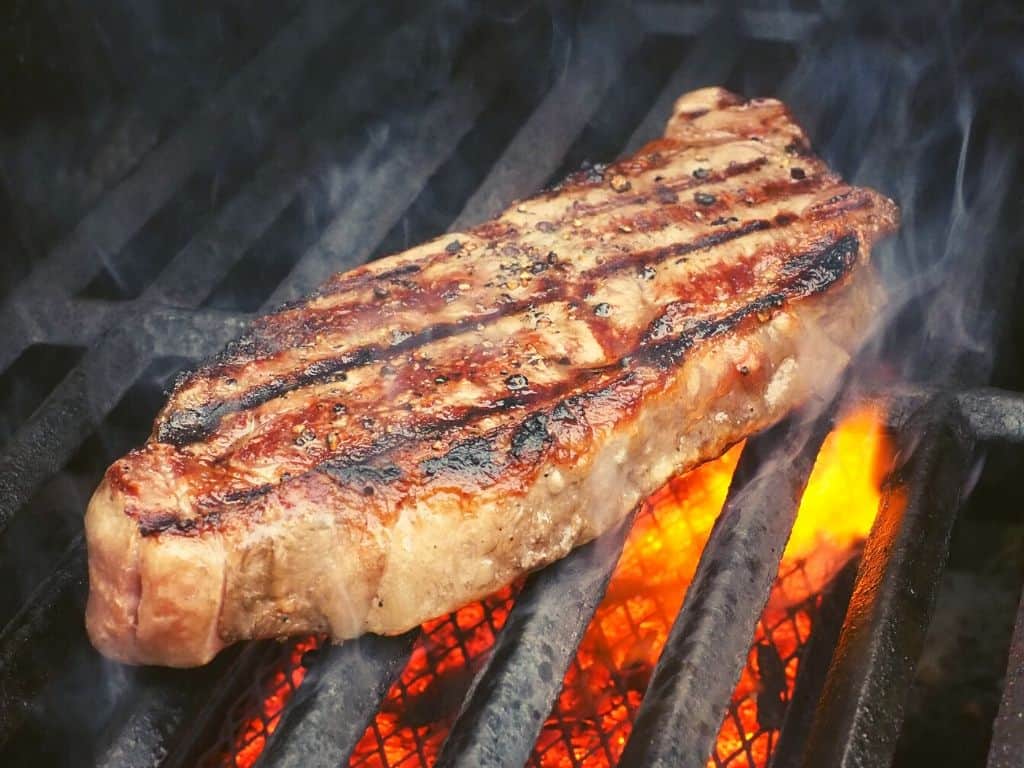
Different Ways to Grill
Gas
Using a gas grill is convenient because there is no hassle with getting the grill started. Just turn on the gas and press a button. You can also adjust the burners separately to control the temperature of the grill and to create different heat zones.
Starting a gas grill is also faster compared to charcoal. However, if you want to reach a high cooking temperature, you will have to preheat the grill for a while. And still, you can not get it as hot as a charcoal grill.
Some gas grills come with a handy side burner. It allows you to cook side dishes, even boil rice or potatoes, at the same time while grilling. Thus, a well-equipped gas grill is actually a complete outdoor kitchen unit in itself!
Charcoal
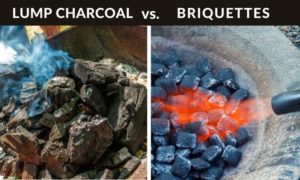
Grilling with charcoal is the traditional way that many still prefer. It takes more effort and time since you have to light the charcoal and wait for a decent ember.
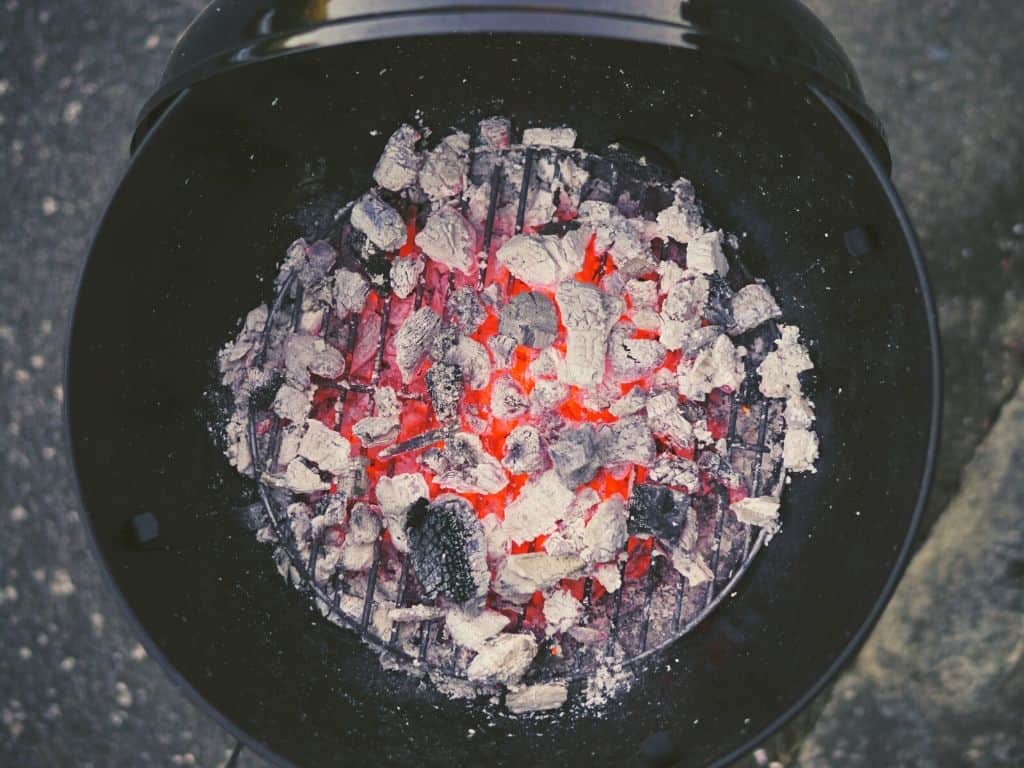
When necessary, you can reach a very high temperature. Charcoal grills produce a massive amount of infrared radiation, which allows you to cook food quickly. You can also arrange the coals for slower indirect cooking. This makes charcoal grill very versatile, although mastering its use takes some practice.
Thinking about taste, charcoal gives a richer and smokier flavor. Yet, if you worry about the environment, the disadvantage of a charcoal grill is that compared to a gas grill it produces a lot more carbon emissions.
Charcoal grills are generally cheaper and less complicated than gas grills. They are very simple devices and you don’t have to worry about technical problems.
One interesting option is to get a Japanese style Yakitori grill. These grills are excellent for parties and are specifically designed for skewers.
Electric Grill
Many people might frown upon electric grills. Maybe they don’t even consider it a proper method of grilling. I agree that electric grills are not the best option when considering the taste.
Yet, they can be handy in certain conditions. I used to live in a condo where grilling with fire was forbidden on the balconies. However, using an electric grill was allowed. So I had many memorable moments watching the sunset with a beer in my hand and food on the grill. And the taste wasn’t bad either.
Wood Fire
One of the most enjoyable, and definitely the most primordial, methods of grilling is to use wood fire. There is evidence that our ancestors started cooking like this already a million years ago.
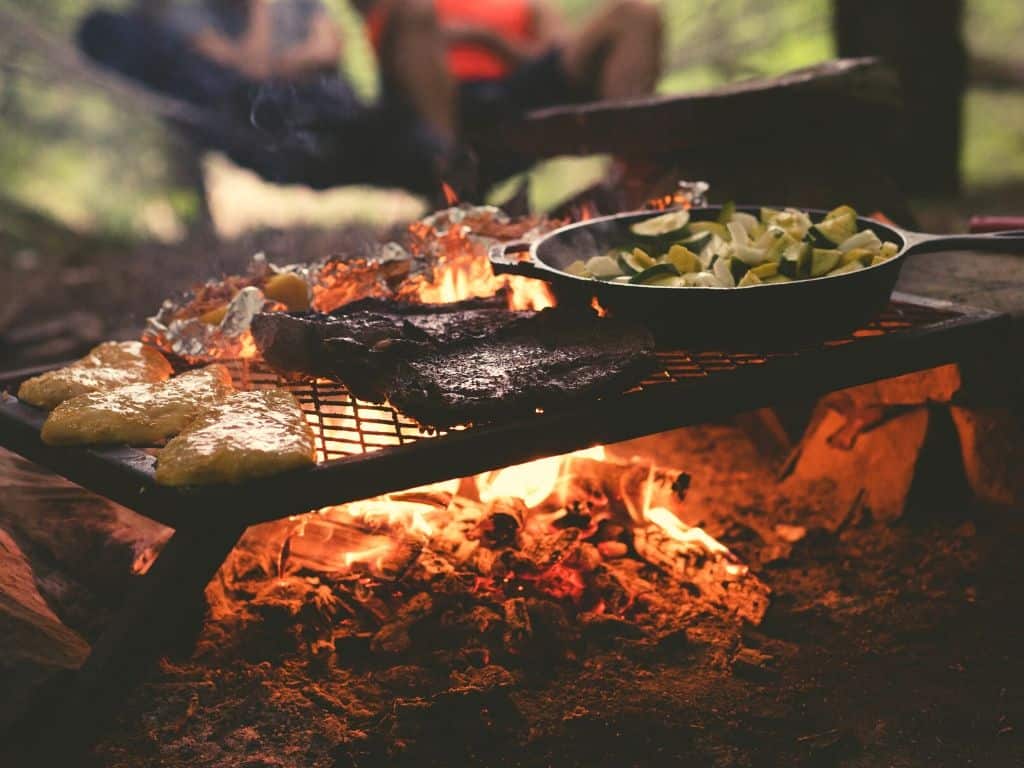
Grilling on a wood fire requires some effort and skill, but it can also be very rewarding. First, you need some dry hardwood and a safe place to make the fire. It takes a few moments to burn enough wood to make a proper ember for cooking. You will also need a grid where you can place the food.
Prepare Well
Weather conditions
Depending on the season and your location, you might want to check the weather forecast and prepare accordingly:
- Rain: If there is even a slight chance of rain, place your grill under a canopy or other cover. You don’t want a rain shower to surprise you in the middle of grilling!
- Wind: If you are expecting heavy wind, it is better to grill in a sheltered area.
- Cold: Grilling in cold weather means that you need to produce more heat to cook the food properly. If you are using a gas grill, preheating the grill can take quite a long time.
Tools & Accessories
There are some tools and accessories that can be very handy when grilling. First, make sure that you have a reliable long neck lighter to start the fire. With a gas grill, you will probably not need it, as they usually come with a built-in igniter.
Grilling tongs, forks, claws, and turners make grilling a lot easier. With these tools, you can place the food on the grill, turn it, and remove it when it’s ready without burning your fingers.
You might also want to use a meat thermometer to check when the food is properly cooked.
Lighting a Charcoal Grill
You can make things easier by using a chimney starter to light the charcoal. Here is how to do it:
- Load the chimney starter with a proper amount of charcoal and place it on your grill.
- Put some newspaper or other easily flammable material under it and light it up.
- Let the charcoal burn for a while and add some newspaper if needed. After about 10 to 15 minutes the charcoal should be glowing and ready.
- Pour the charcoal in the grill so that it forms a pile. Add some additional charcoal on top if needed.
- When most of the charcoal has turned grey and you can feel the heat radiating from it, you can spread it out and start grilling.
If you don’t have a chimney starter, you can use lighter fluid instead. Just make sure that you let it burn for at least 10 minutes before starting to cook. This will make sure that the fluid and all chemicals are incinerated.
Fuel
Make sure that you always have an extra gas tank (or charcoal) at hand. If your gas runs out while grilling, you can quickly change the tank and continue.
Pre-heating
Preheat your gas grill for about 5 to 15 minutes before starting to cook. The time depends on your grill’s heating power, outside air temperature, and the food that you are going to cook.
If you are using charcoal, let it burn until you have a nice ember. Don’t start grilling while it’s still burning with a flame.
Safety is Important
Sturdy Platform
Place the grill on an even and stable surface. Make sure the legs or the stand of the grill is sturdy and that there are no loose screws or nuts.
Lighting It Up
When lighting up a gas grill, keep the lid open. No flammable objects should be near the grill.
If you are using some kind of lighter fluid, be careful with it. Do not use it directly in the flames. Always apply it before you light the grill. When you light it, the initial burst of flame can burn your face if you are too close.
Check for Gas Leaks
Check the gas hose and all connecting points for leaks. You can do it by applying light water and soap solution and turning on the gas. If you see bubbles there is a leak that needs to be fixed.
Children and Animals
Don’t place your grill in an area where kids or animals might be playing and running. You don’t want them to touch the grill or tip it over!
Monitoring
As much as possible, keep an eye on the grill constantly. This can prevent all kinds of accidents from happening.
After grilling
There are a couple of very important things to remember after you have finished grilling:
- Gas grill: Turn off the gas.
- Charcoal grill: Let the charcoal cool off and/or wet it before emptying the grill.
These things might seem obvious but I think they are worth mentioning. There are times when you might get excited about eating and socializing and forget about them.
It’s possible, trust me, I have experienced it first hand. My dad once emptied a charcoal grill without waiting until it had completely cooled. And that’s when the dry grass caught fire! Good thing we noticed it right away and put off the fire.
Here is a short video that sums up the most important safety tips:
You can find a more comprehensive guide for grilling safety here.
Time and Temperature
Control the Temperature
Make your charcoal grill hotter by opening the air vents on top of the grill. This will make the charcoal burn faster and generate more heat.
Controlling the temperature of a gas grill is easy. They often come with a built-in thermometer that allows you to monitor the temperature without opening the lid. You can adjust the burners to reach the preferred level of heat.
Grilling Time
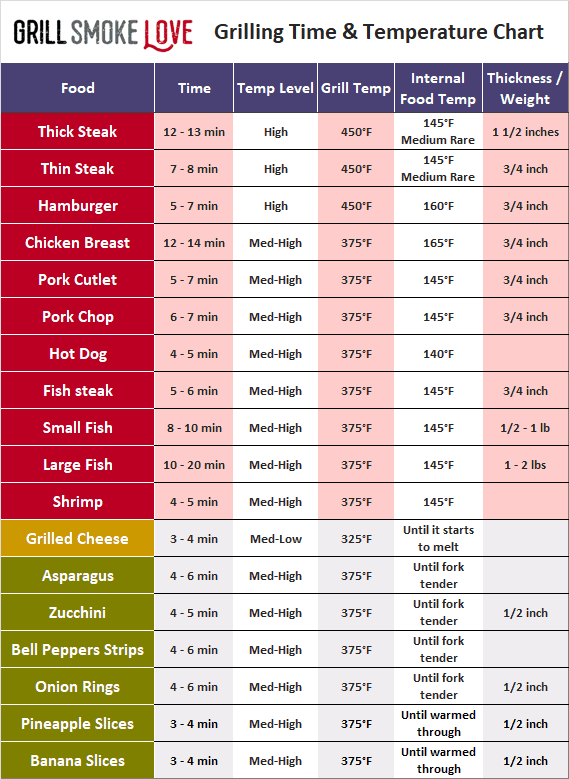
The appropriate grilling time depends on the thickness of the meat, the temperature of the grill, and the desired doneness.
Here is a handy chart that helps you with getting it right:
Direct or Indirect Heat
Create temperature zones and use direct or indirect heat for cooking:
- Direct heat: Place the food directly on top of the coal or the flame of a gas burner. This way you can cook the food fast. You can also use it in the beginning to sear the surface. Direct heat works well for steaks and burgers.
- Indirect heat: Place the coals on one side of the grill and place the food on the other side. With a gas grill, turn off the burners that are under the food. Keep the lid closed. Indirect heat allows you to cook food for a longer time without burning the surface. Great for a whole chicken or a roast.
Cover It
As much as possible, keep the lid of the grill down. This allows the grill to remain hot and the food will be cooked more evenly. It also prevents flare-ups and keeps the smoke inside, which gives your food more flavor.
Flare-ups
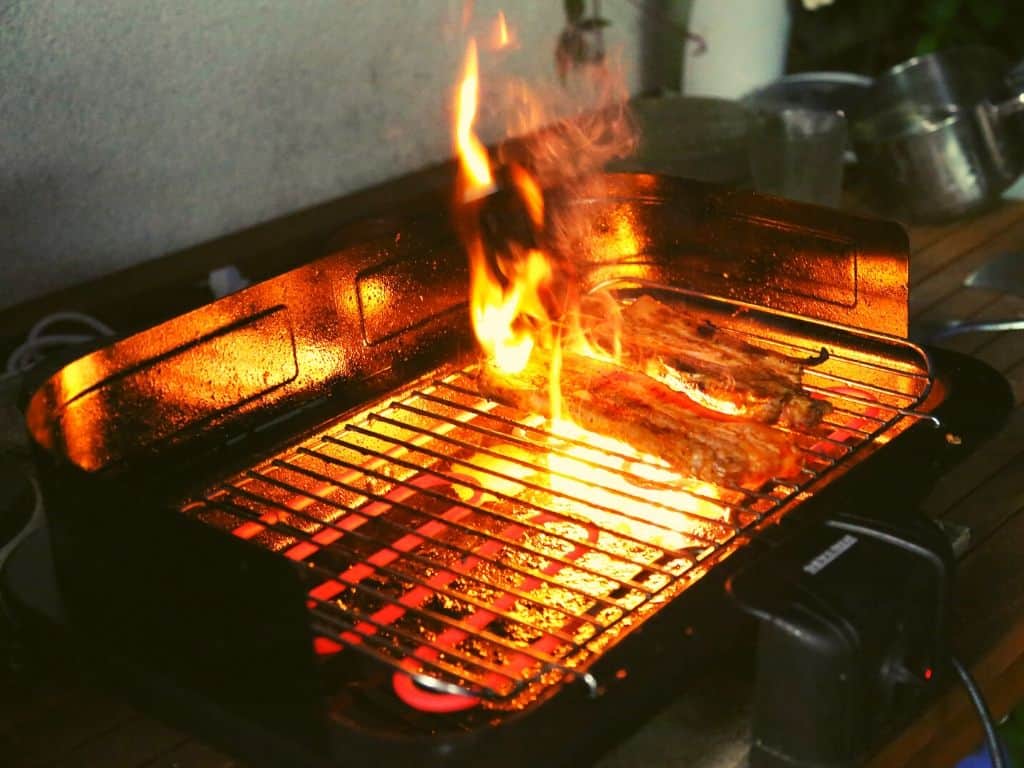
Flare-ups caused by dripping fat or marinade are part of grilling. However, too much will burn your food. Move your food away from the flare-ups until they die down.
Monitoring
Monitor the time and temperature of your grill to avoid overcooking and burning the food.
Let It Rest
After removing meat from the grill you can let it rest for about 5 to 10 minutes. This way the temperature will be distributed more evenly. Wrap the meat in foil or put it into a covered bowl to prevent it from cooling down.
Cleaning and Maintenance
Clean Every Time
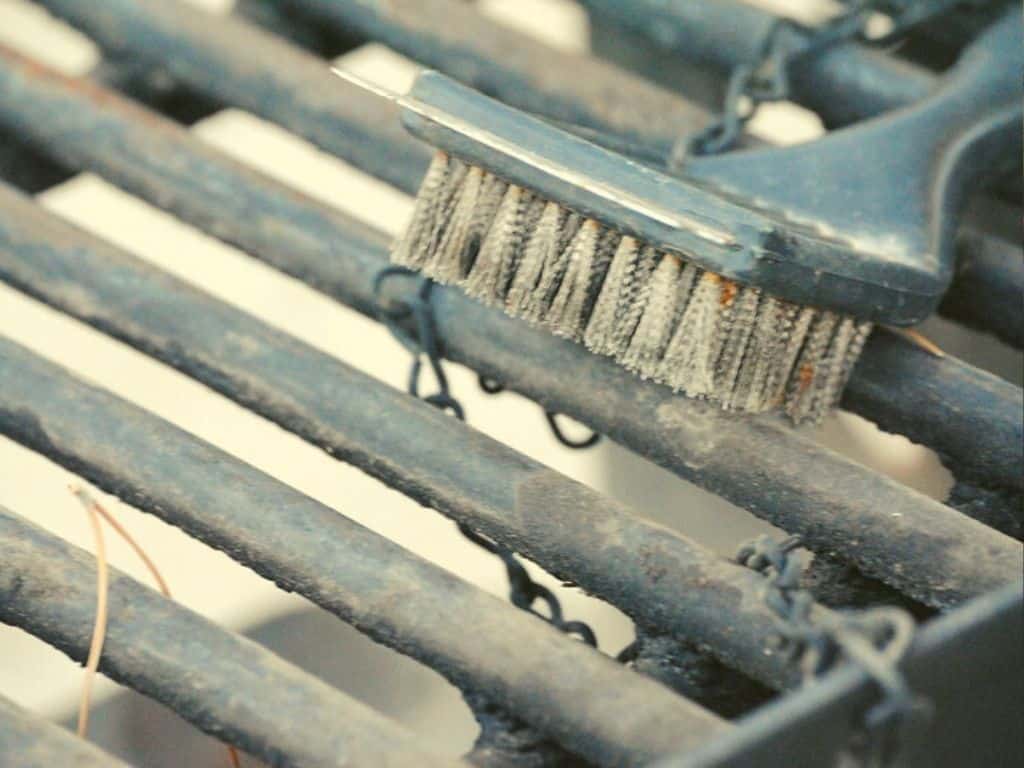
After grilling, always clean your grill with a brush. It is much nicer to start with a clean grill next time and it also prevents your food from sticking to the grill. You can make cleaning a gas grill easier by letting it burn for a while after removing the food.
Deep Cleaning and Check Frequently
Do proper maintenance and deep cleaning frequently, at least every 2 months:
- Remove the grates and brush them clean from both sides.
- Scrub the inner surfaces to remove the burnt food and grease that has built up.
- If you are using a gas grill, use a brush to clean the burner holes. Clogged burner holes cause an uneven flame.
- Check that all the parts are in good condition and that the nuts and screws are tight.
Techniques and Methods
Marinating
Marinate your meats to make them tastier and to inhibit the formation of carcinogenic compounds.
Let the meat marinate for at least a few hours or preferably overnight.
Oiling
Use a brush to apply some oil on the surface of the food. This will prevent the food from sticking on the grates and creates a nice savory crust.
Searing
Use high direct heat for searing the surface of the meat. After searing, you can lower the heat to let the meat cook inside without burning it.
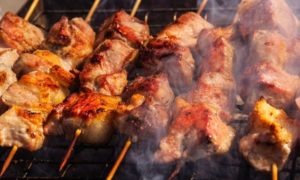
Skewers and Kebabs
To prevent wooden sticks from burning, soak them in water for at least 30 minutes before using them. If you want the meat to cook faster from the inside, use metal skewers as they conduct heat.
Grilling Basket
A grilling basket is very convenient for grilling smaller pieces of food. It prevents them from falling through the grates.
Cedar Plank
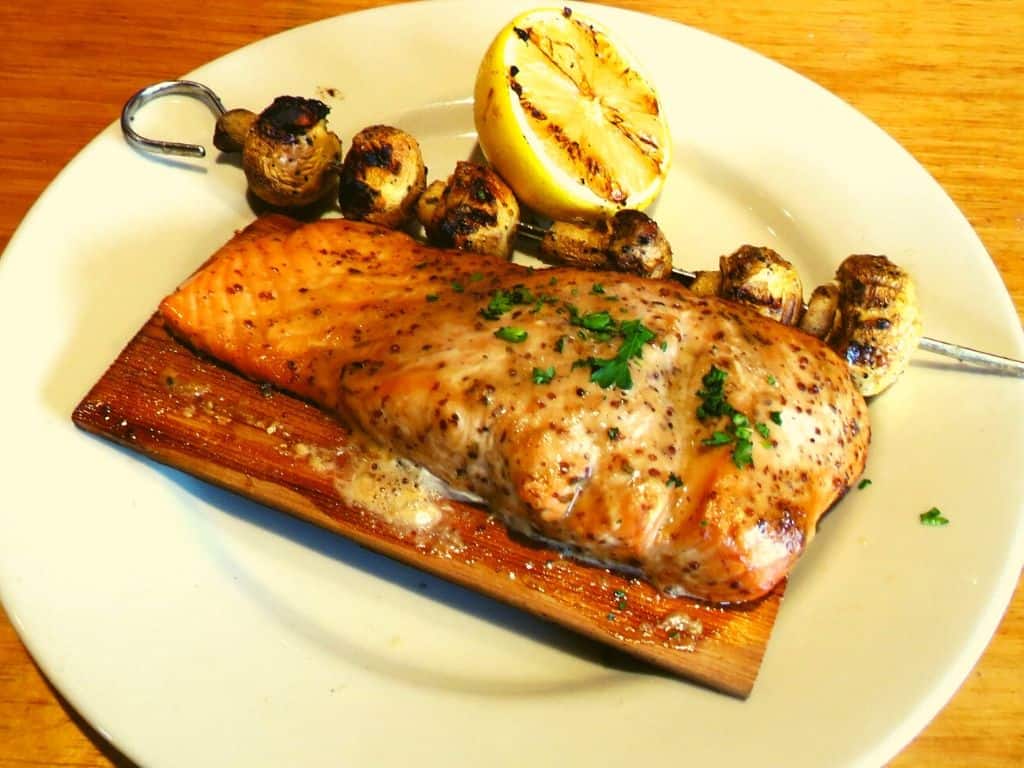
You can use a cedar plank (a thin wooden board) to give some additional flavor to your food. Using a plank made with red cedar will give you a nice and deep smoky flavor.
You can also choose other options. Maple or applewood plank will give a mild flavor while hickory or oak will provide a stronger zest.
Soak the plank in cold water for at least an hour, tap it dry with a cloth, and then place the meat or fish on the plank. Put the plank over indirect heat for gentle and slow cooking, or over direct heat for faster cooking and smokier taste.
Ready to Grill!
Grilling is actually quite easy. Yet, knowing the essentials will help you with cooking a tasty dish and avoiding the most common mistakes. It’s also important to know how to use the specific grill that you have. This is why you should read its user manual carefully.
I think we are ready to start grilling. Enjoy the cooking and have a tasty meal with your friends and family!



2 thoughts on “Grilling Tips for Beginners: The Complete Guide”
My husband noticed that our grill is broken. We liked what you said about cleaning it after every use. We are planning on getting a new one, and we’ll implement these tips!
Hi Eve,
Great to hear that you found my grilling tips useful!
Best Regards,
Joonas